
The Best eSIM for Travel in 2025: My Honest Picks for Every Kind of Trip
Wondering what the best eSIM for travel really is? It’s a tiny digital SIM that you install on your phone before you leave, letting you connect to local networks the moment you land. You simply scan a QR code, choose a data plan, and enjoy instant, hassle-free connectivity without swapping physical cards. This means you can navigate, share photos, and stay in touch with loved ones anywhere, all at a fraction of roaming costs.
How to Pick the Right Travel eSIM Without Overpaying
You’re standing at arrivals, phone buzzing with map notifications, but your bank account is already whimpering from that $15-a-day roaming fee. The trick to finding the best eSIM for travel is matching the plan to your actual itinerary, not the flashiest marketing. If you’re hopping across two countries in a week, pick a regional plan—like Europe-wide—instead of buying separate country packs. Check the data allowance against your habits; a heavy navigator and social media scroller needs 5GB minimum, while a city-break wanderer can survive on 2GB. Before you tap “buy,” verify the provider’s hotspot tethering isn’t blocked and that the plan activates on your arrival date, not instantly. That way, you avoid paying for idle days. Always compare prices per gigabyte across two or three major providers—Airalo and Holafly often differ wildly for the same region. That five-minute comparison is exactly how to pick the right travel eSIM without overpaying.
Coverage maps vs. actual network strength: what really matters
Coverage maps from eSIM providers are marketing tools, not guarantees of usable speed. They shade entire regions based on tower presence, but actual network strength depends on local congestion, terrain, and which partner tower your phone latches onto. What really matters for travel is real-world performance in cities and transit hubs, not rural pixels. Check recent user reports for your specific destinations—a map showing “4G” in Paris means little if you only get 3G indoors at your hotel. Prioritize eSIMs that list specific carrier partners and allow manual network selection, so you can switch to a stronger tower when the default one chokes. A broad coverage map is worthless if the network is oversold, so judge by tested speeds, not painted promises.
Data-only plans vs. calls and texts: which one fits your trip
For most travelers, a data-only eSIM is the smarter pick, since apps like WhatsApp, FaceTime, and Google Voice handle calls and texts over Wi-Fi or mobile data. You’ll pay less and avoid juggling a second number. However, if you’re heading somewhere with spotty internet, or need to contact local services (think restaurants or taxis) that rely on traditional SMS codes, a plan with calls and texts adds peace of mind. Check if your destination’s ride-hailing apps require SMS verification—if so, a hybrid plan beats fumbling with a foreign SIM. Otherwise, stick to data and use VoIP.
Understanding Data Allowances and Fair Usage Policies
When hunting for the BazTel best eSIM for travel, don’t just eyeball the gigabyte count—peek at the fine print on fair usage policies. Many “unlimited” travel plans throttle your speed to a crawl after a daily high-speed cap, which is brutal for map loading or video calls. Also, check whether your data allowance is truly local (usable in your destination) or regional, as some cheap plans only work in the country of purchase. For multi-country trips, a plan with a single regional pool often beats juggling separate local eSIMs. Crucially, read how the provider calculates usage—some round up per session, eating your allowance faster. Pick a plan with a transparent allowance tracker in its app, so you never get surprised mid-trip. A small buffer of extra data costs less than buying a new eSIM at the airport.
Why “unlimited” travel eSIMs throttle your speed after a few GB
“Unlimited” travel eSIMs rely on fair usage policies (FUP) to prevent network abuse, which is why your speed drops after a few GB. Once you cross the defined threshold, usually 1–5 GB, the provider deprioritizes your traffic to free bandwidth for local users. This throttle persists until the next billing cycle, meaning navigation and video calls become frustratingly slow. The fair usage policy threshold is the exact point where your connection shifts from full speed to a limited, usually 512 kbps–1 Mbps, experience. This is a cost-saving tactic, not a technical failure.
- Check the FUP threshold before buying—it dictates your usable high-speed data.
- Throttling applies even if you have remaining “unlimited” data on your plan.
- Streaming and large downloads are the first tasks to become unusable after the cap.
- Some providers reset the limit daily, not monthly, offering a quicker recovery.
For travel, this means deprioritization is the hidden cost of cheap “unlimited” plans.
How to estimate your daily data needs for maps, messaging, and streaming
Start by timing your most common travel tasks. Maps use roughly 5–10 MB per hour with active navigation, so a 3-hour city walk drains about 30 MB. Messaging apps like WhatsApp or iMessage consume under 1 MB per 100 text messages, but photo sharing jumps that to 2–5 MB each. Streaming music uses ~40 MB per hour at standard quality, while video streaming eats 250 MB–1 GB per hour depending on resolution. Add a 20% buffer for background updates. For a typical day: 100 MB maps, 50 MB messaging, 500 MB streaming—totaling ~650 MB. Choose a travel eSIM plan with at least 1 GB/day to stay safe. Daily data estimation for travel eSIMs prevents surprise throttling and overage fees.

Q: How do I estimate daily data for maps, messaging, and streaming on a travel eSIM?
A: Track your usage for one hour per activity, multiply by hours you’ll actually use each, then add 20% buffer. For example, 2 hours of maps (20 MB), 200 messages with 10 photos (30 MB), and 30 minutes of music (20 MB) equals 70 MB—round up to 100 MB for your daily floor.
Regional vs. Global eSIM Plans: Which Saves You More Money
For most travelers, the choice between regional and global eSIM plans hinges on your itinerary’s concentration. A regional eSIM, covering a cluster like Europe or Southeast Asia, is almost always the cheapest option if your trip stays within that zone, as carriers negotiate bulk rates for neighboring countries. Conversely, a global eSIM offers coverage across dozens of countries, but you pay a premium for that flexibility, often costing double per gigabyte. The key saving mechanism is matching the plan’s coverage map to your actual stops; a global plan only makes financial sense if you visit three or more distinct regions in one trip. For a single-country or single-region journey, regional wins. For multi-continent hopping, global prevents expensive top-ups. Always compare the per-GB price for your specific countries, not just the headline “unlimited” data, because local data rates within a regional zone can vary wildly, and that discrepancy is where your money is actually saved or lost.
When a single-country plan beats a multi-region package
A single-country plan beats a multi-region package when your itinerary is genuinely fixed to one nation for the entire trip. If you are spending ten days in Japan and never crossing into South Korea, a local Japan-only eSIM often costs 30–50% less per GB than a regional Asia bundle. You also avoid paying a premium for countries you will never switch on. Choosing a single-country plan beats a multi-region package when your data appetite is high, because local operators offer larger volume at lower rates. However, if you take a spontaneous day trip across the border, your single-country eSIM becomes a dead weight, so verify your itinerary’s rigidity before buying.
Q: When does a single-country plan beat a multi-region package?
A: It wins when you spend 100% of your travel days in one country, need over 5 GB of data, and have zero border-crossing plans. It also beats multi-region when a regional package’s “coverage” is useless to you—for example, buying a Europe-wide plan but only landing in Germany and flying straight home.
How to mix and match local eSIMs for multi-stop itineraries
For multi-stop trips, prioritize local eSIMs for longer stays (over three days) to exploit cheaper regional rates, while reserving a global plan’s data allowance for transit layovers or single-night stops. Before departure, download local eSIM profiles for each destination, but activate them only when you land, keeping your primary global line as a fallback for gaps. Calculate per-country data usage and compare it against the global plan’s flat rate; if one country dominates your itinerary, a local SIM there plus a global plan elsewhere often beats a single continental pass. However, the global plan’s convenience becomes worthless if its speed throttles in a country where you’ll rely on map-heavy navigation. Install a management app to toggle profiles without removing physical SIMs, and always keep your global QR code accessible as a safety net for unexpected border crossings.
Mixing local eSIMs for long stops with a global plan for transit creates cost efficiency, provided you pre-download profiles and activate selectively per stop.
Installing and Activating Your Travel eSIM Without a Hitch
The best eSIM for travel becomes worthless the moment you fumble the setup at baggage claim. So, avoid that panic by installing your profile *before* you leave home, while connected to Wi-Fi. Open the email from your provider, scan the QR code, and your device’s settings will handle the rest — usually under “Cellular” or “Mobile Data.” Once installed, do a dry run: toggle the new line on and ensure your main SIM is off. At your destination, the network should latch on automatically, but if you see “No Service,” force a restart. That simple reboot often triggers the carrier handshake. Remember, activation only works once you hit the ground in your destination country, so don’t expect data during the flight. Follow these exact steps for a flawless **travel eSIM installation** that guarantees **instant eSIM activation** when you land.
Step-by-step QR code setup for iPhone and Android
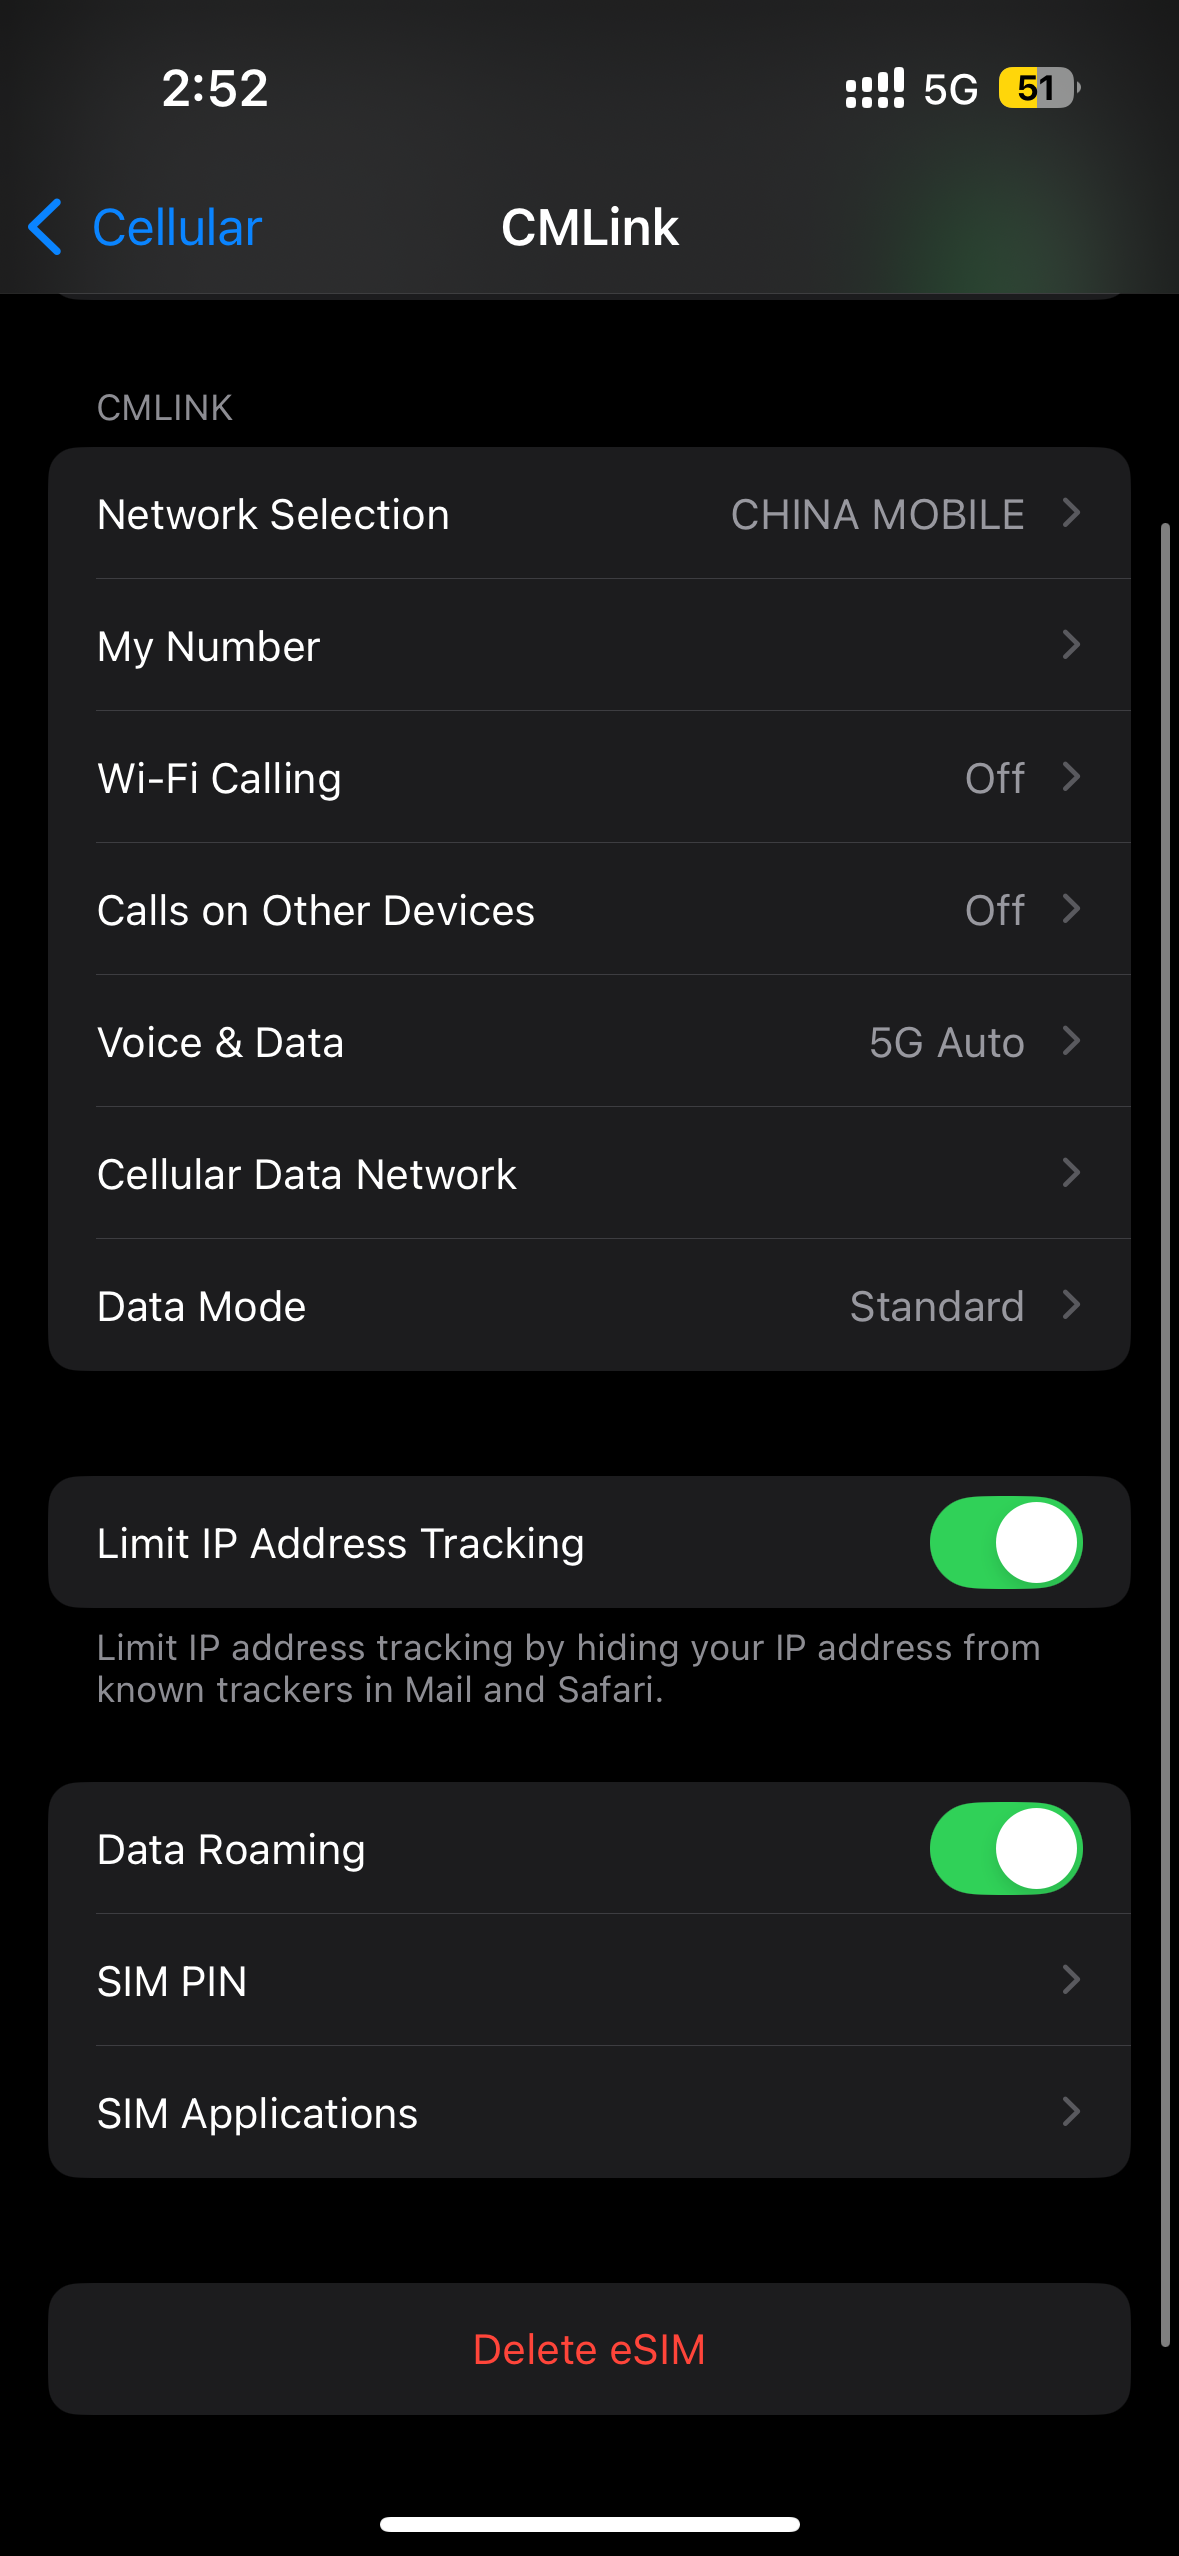
On iPhone, open **Settings > Cellular > Add eSIM**, then scan the QR code from your provider’s email or app—tap “Add Cellular Plan” when it appears, label it as Travel, and set it as secondary if you’re keeping your home line active. For Android, go to **Settings > Network & Internet > SIMs > Add SIM**, choose “Download a SIM instead” or scan directly from the camera app, then follow the on-screen confirmation. Ensure Wi-Fi stays on during activation, and restart your device if the network doesn’t appear within two minutes. Most travel eSIMs activate the moment scanning completes, so don’t remove the QR code screenshot until you’ve tested a data connection.
Scan the QR via your phone’s cellular menu, confirm the plan label, and restart—your travel eSIM goes live in under three minutes.
Troubleshooting common activation errors before you leave home
Before you board, triple-check that your phone is unlocked—the #1 cause of activation failure. If the eSIM won’t install, confirm you’re on Wi-Fi, not cellular data, and that your device’s carrier settings are updated. A common snag: scanning the QR code too late; download the eSIM while at home, then toggle it on only after landing. If you see “No Service,” manually select your destination network in settings. **Always test the eSIM connection in airplane mode with Wi-Fi off** before leaving. Pre-flight activation testing turns travel-day panic into a ten-second fix.
Q: Why does my eSIM show “activation failed” at home? A: Usually a weak signal or a locked phone—restart, reconnect to Wi-Fi, or email the provider’s support chat right then, not from abroad.
Hidden Features That Make a Travel eSIM Easier to Live With
The best eSIM for travel isn’t just about data—it’s the hidden features that quietly save you. Automatic carrier switching means your connection hops to the strongest local network without you touching settings, eliminating dead zones mid-city. A built-in data wallet lets you top up with one tap when you’re low, avoiding the panic of hunting for Wi-Fi at an airport. Real-time usage meters, not just a generic percentage, show exactly which apps drain your allowance, so you can tweak habits on the fly. Some even include free inbound SMS for banking codes or ride-hailing verification—a lifesaver abroad. Ask yourself: does it offer offline maps bundled with the plan? Yes, a few providers cache destination guides that work without signal. That turns a data SIM into a true travel companion. Choose one with these silent tools, and your trip feels frictionless.
Top-up options and instant recharging while abroad
The most underappreciated convenience of a top-tier travel eSIM is the instant recharge capability, which eliminates the hunting for local SIM cards or Wi-Fi hotspots when your data pool depletes mid-trip. Instead of replacing the eSIM, you simply purchase a top-up data package through the provider’s app, which activates within seconds due to the existing network profile. This works because the eSIM retains your original authentication credentials, so a recharge is purely a billing event, not a network re-registration. Crucially, your remaining balance rolls over logically—top-ups add to the current allowance rather than resetting it, avoiding waste. Optimal providers display live usage meters and offer one-tap low-balance alerts, letting you add 1GB or 5GB increments exactly when needed. This predictability turns data management into a chore you can ignore until the exact moment of necessity.
Q: How do top-up options and instant recharging while abroad differ from buying a new eSIM?
A: A new eSIM requires downloading, installing, and reconfiguring your device, which breaks your connection. A top-up merely adds data to the already-active profile, preserving your phone number, APN settings, and connectivity—so you remain online continuously, even mid-call or mid-navigation.
Hotspot tethering and multi-device sharing: what to look for
When picking the best eSIM for travel, don’t overlook hotspot tethering and multi-device sharing—it’s the difference between a phone-only connection and a portable office. Look for providers that explicitly allow tethering without extra fees, as some data plans quietly restrict it or throttle speeds after a few gigabytes. Check whether the eSIM supports simultaneous connections for your laptop, tablet, and partner’s phone, and confirm the hotspot mode works with your device’s native settings rather than a clunky app. Also, verify if a single data pool can be split across devices or if each gadget needs its own separate plan—this affects cost and setup time dramatically.
- Confirm tethering is allowed in the fair-use policy, not buried in the fine print.
- Test if the hotspot stays stable when switching between 4G and 5G towers.
- Check battery drain: some eSIMs aggressively handshake, killing your phone faster during sharing.
Comparing Price Per Gigabyte and Validity Windows
When choosing the best eSIM for travel, comparing price per gigabyte against validity windows is the single most decisive factor. A plan offering 10 GB for $20 over 30 days is objectively better than one selling 5 GB for $18 over 7 days, even if the latter has a shorter “fresh” window. You must calculate the daily cost of the validity period itself, not just the data rate. A cheap per-GB deal becomes a poor value if you’re forced to repurchase within a week for a two-week trip. Conversely, a slightly higher per-GB price with a 30-day validity often wins for multi-country or extended stays, because unused days are wasted money. The best eSIM for travel balances these two metrics—neither extreme dominates without weighing your exact trip duration. Prioritize plans where the validity window comfortably covers your departure date to return date, then scrutinize the price per GB within that frame—otherwise, you’ll overpay for data you never use or lose access mid-trip.
Short-trip plans vs. long-stay options: calculating the true cost
For short trips, a smaller data package often carries a higher per-gigabyte price, yet buying a 30-day plan for a 5-day stay wastes the remaining validity. Conversely, long-stay options spread cost across weeks, lowering the effective price per day even if the total gigabyte price seems steeper. Calculating the true cost requires dividing the plan price by both usable gigabytes and active travel days, then comparing unused validity against potential top-up fees. A mid-tier plan may beat a budget option if it eliminates a second purchase. Always map your trip length against the shortest valid window that covers it fully, not the cheapest raw rate.
- Divide total price by travel days, not calendar validity, for real daily cost.
- Factor in penalty of buying two short plans vs. one longer plan.
- Ignore unused data if validity runs past departure—only paid bytes count.
- Compare top-up cost against upfront higher-price long-stay plan.
How to spot expiry-date traps in so-called “flexible” plans
When comparing price per gigabyte, a “flexible” plan’s expiry clock often starts at purchase, not first use—so read the fine print for the activation window. Look for a “validity” countdown that pauses only when you install the eSIM, but check if it resumes the moment you connect to any network, even without data usage. Trap two: “top-up” extensions that roll over only unused data, but reset the expiry to a shorter 7-day cycle. Verify whether a plan’s “pause” feature truly freezes the timer or merely hides it from your dashboard. If the provider lists an absolute final date (e.g., “valid until 2025-12-31”), treat that as a hard stop, not a suggestion.
Expiry-date traps in flexible eSIM plans hide in these conditional triggers—so screenshot the terms before buying.
Q: How do I spot if a “flexible” plan’s expiry resets on top-up?
A: Check if the top-up adds days to the original deadline or replaces it with a new, shorter window—many cheap plans reset to 30 days from the top-up, burying your unused days.